


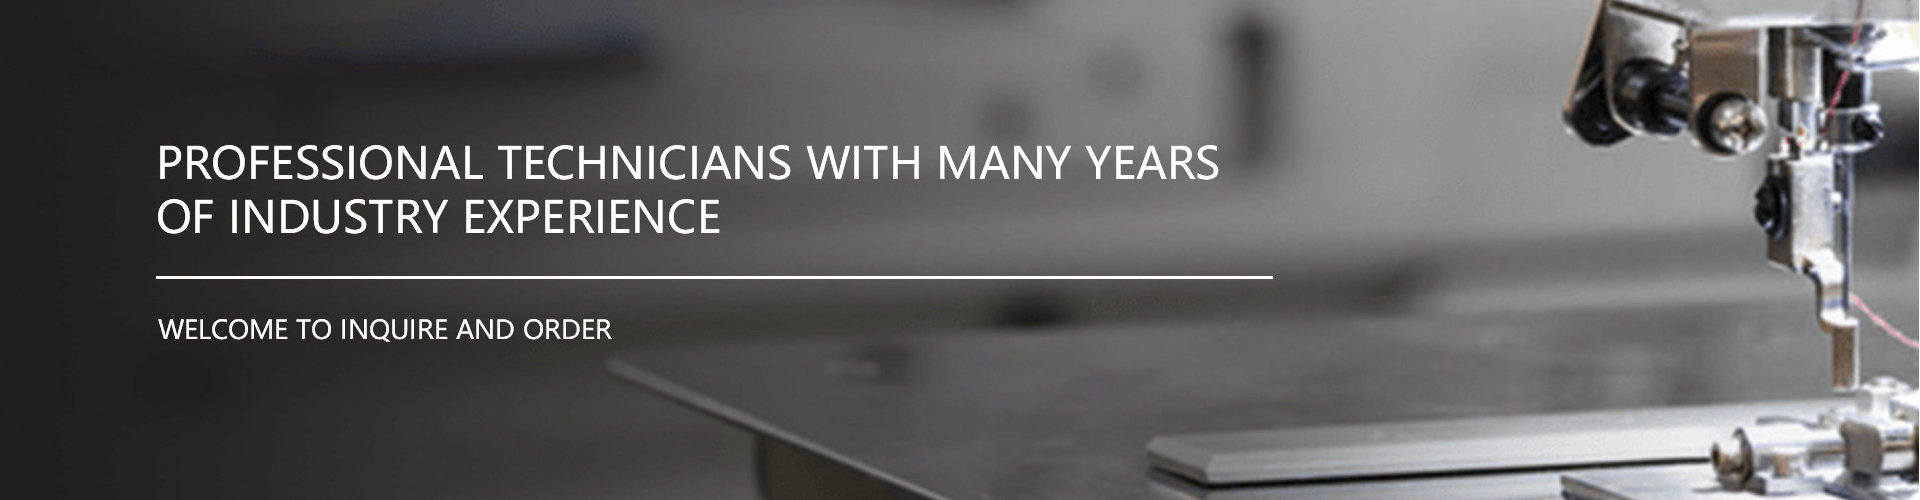
A jeans sewing machine is designed to handle thick denim,multiple fabric layers,and heavy-duty stitching.Whether you use a denim sewing machine in a factory or a sewing machine for jeans in a workshop,machine problems can still affect efficiency,stitch quality,and production speed.Understanding the most common issues and knowing how to fix them can help extend machine life and improve garment quality.One common problem is skipped stitches.This usually happens when the needle is worn out,bent,or not suitable for denim fabric.For better results,always use the correct heavy-duty needle and replace it regularly.A professional industrial jeans sewing machine should also be checked for proper needle timing to ensure stable stitching on thick seams.Thread breaking is another frequent issue in any jeans making machine.This can be caused by incorrect thread tension,low-quality thread,or rough thread guides.To solve this,use strong thread made for denim applications,adjust the upper and lower tension carefully,and clean the thread path to remove dust and lint.Fabric feeding problems are also common when sewing heavy jeans panels.If the presser foot pressure is too low or the feed dogs are dirty,the denim may not move smoothly.Cleaning the feed system and adjusting pressure settings can greatly improve performance.A high-quality sewing machine for jeans should feed thick fabric evenly without slipping.Needle breakage is another issue,especially when sewing across bulky seams or pocket c
- Home
- About us
- Product
- Caps Sewing Machine
- Industrial Flat Sewing Machine
- Eyelet Sewing Machines
- Eyelet Punching Machine
- Hat Stitching Machine
- Curved Edge Sewing Machine
- Hat Brim Sewing Machine
- Automatic Sewing Machine
- Automatic Velcro Sewing Machine
- Semi-automatic Sewing Machine
- Adjustable Buckle Fixing Machine
- Elastic Cutting Sewing Machine
- Velcro Welding Machine
- Hot Air Seam Sealing Machine
- Ultrasonic Sewing Machine
- Ultrasonic Holes Punching Machine
- Button Wrapping Machines
- Double Needle Flat Sewing Machine
- Shoes Sewing Machine
- Electronic Bartack Machine
- Double Needle Sewing Machine
- Punching Sewing Machine
- Computer Pattern Sewing Machine
- Shoe Ribbon Sewing Machine(Thread)
- Herringbone Rotary Sewing Machine
- Heringbone Rotary Sewing Machine(Thread)
- Cyclic Displacement Pattern Sewing Machine
- Heelpieces Automatic Sewing Machine
- Jeans Sewing Machine
- Garments Sewing Machine
- Special Industrial Machine
- Caps Sewing Machine
- Case
- News
- Contact us